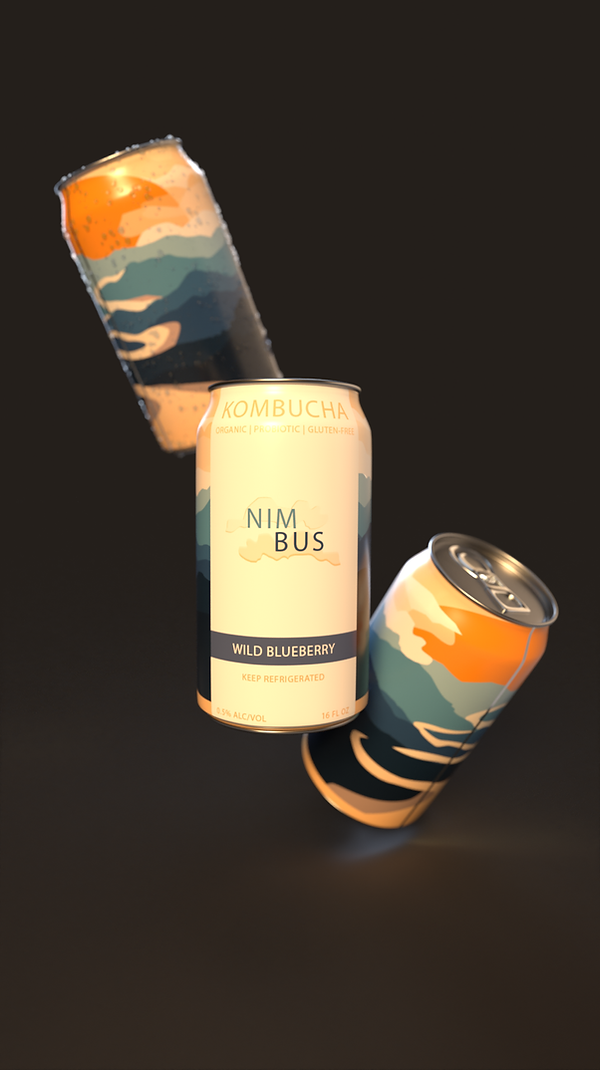
NIMBUS KOMBUCHA
PROJECT OVERVIEW
During the pandemic, my mom and I started making our own Kombucha. A family friend gifted us our first SCOBY. Since then, it has multiplied and my mom and I each make two gallons of Kombucha per batch. As production picked up, I began giving kombucha to friends. So, I decided to create a brand and product packaging for my homemade kombucha.
I invite you to explore and uncover the process of making kombucha—it's not as hard as you think.
NIMBUS CANS


NIMBUS BOTTLES


THE PROCESS
Step One: First Fermentation

Freshly brewed and sweetened black tea is added to two cups of mother liquid (seen at the bottom of the jars). The SCOBY (Symbiotic Culture of Bacteria and Yeast) is then added to the mixture. The SCOBY is the jelly-like material floating in the jars. The first fermentation takes anywhere from one and a half to two weeks.
Step Two: Second Fermentation

Once the kombucha has fermented it's poured out of the jars leaving behind two cups of the mother liquid for the next batch. The kombucha is poured into stop-top bottles along with two teaspoons of sugar and 1/3 cup of wild blueberries. This second fermentation is for flavoring the kombucha—taking three to five days.
Step Three: Store and Enjoy


Once the kombucha has fermented a second time, it can be stored either at room temperature or in the refrigerator. Since kombucha is naturally carbonated from fermentation it needs to burped every day or so to make sure the bottles don't explode. It can be stored for up to 4 weeks in the fridge. Kombucha should be enjoyed over ice in a fluted glass!